Getting Started
Logging In

When presented with this screen you login with the KOJI_SECRET you set in your
.env or docker-compose.yml file.
Projects
A "project" in Kōji is how you create custom endpoints for distributing your geofences to the various integrations. Lets quickly walk through the process of setting up a basic project to use with ReactMap.
-
Navigate to the Admin Panel by clicking the
Adminbutton on the landing page. -
Navigate to the
Projectspanel by clickingProjectsin the left hand side drawer. -
Click
Createto start your new project. -
Give your project a name, such as
ReactMap.💡If your project is your scanner, you can set
Scannerto true by clicking the toggle switch. -
If your project supports a refresh endpoint to make it call Kōji again for updated geofences, you can input the API endpoint here, as well as any headers. For this example, we will ignore these though.
-
Click
Saveto create your new project. -
Below we will go through different ways you can import your existing fences and assign them to your new project.
-
Once you've completed those steps, your geofences assigned to this project will now be accessible at
http://{your_koji_url}/api/v1/geofence/feature-collection/ReactMap -
Projects don't have to be striclty used with external integrations though. Kōji's client can also import geofences by project so it may be convenient to group them for this reason as well.
Import existing Projects
-
After logging in, click the
Mapbutton on the landing page -
Open up the drawer, and go to the Import panel
-
Click the
Import Wizardbutton -
In the
JSONsection, clickBrowseand select your desired file, such as theareas.jsonfile from ReactMap (opens in a new tab) orgeofence.jsonfrom PoracleJS (opens in a new tab) -
No matter what format you use, they will be converted into standard GeoJSON features
-
Click
Next -
If the features from your file have a
nameproperty that isn't calledname, you can select which one Kōji should use in step 2
-
You can also select which properties you would like to save to the Kōji database
-
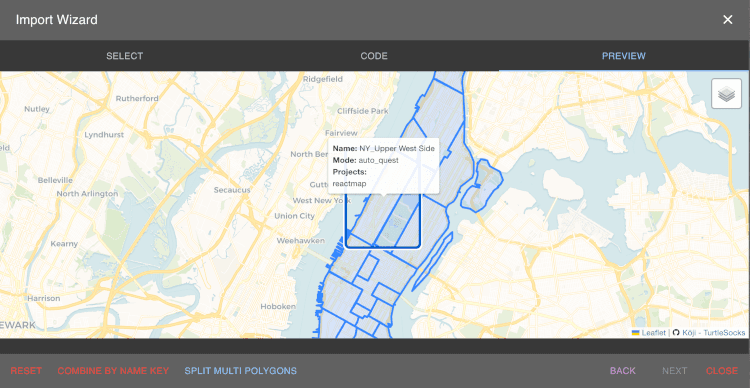
There are two special actions, "Combine by Name Key" and "Split Multi Polygons"
- "Combine by Name Key" will combine all features with the same name into one feature (rare)
- "Split Multi Polygons" will split any MultiPolygons into multiple Polygons, this might be useful if your integration does not support MultiPolygons
-
Click
Next -
Now you can choose to assign each feature a
modeand a project to be associated with. If you haven't already created a project, you can add one directly from this menu by typing in the name of the new project and clickingAdd {project_name}
-
Click
Next -
Same as above but for routes
-
At any point you can check out the current code generated and a preview of your features on a map

-
Click
Save to Kōjito save all of the selected routes and fences to the respective tables in the Kōji database
-
Repeat for however many projects/files you want to import! The import wizard can import from all sorts of differnet sources, including Nominatim and shape files.